Monday, December 31, 2012

A Shop Card with Oodles of Flowers

 As you know I write for ItsyBitsy and a few days ago I wrote a post about a shop card with baby embellishments. I made another one to demonstrate how I used their rotary cutter and this is the final result of that project. I am still editing the video and will link it shortly. As you can see, it's the same layout but the embellishments and accents are markedly different.


My color scheme was inspired by the Play Date Cafe challenge that I saw over at Juhi's blog - the color scheme was Teal, Gold, Mint and Lavender. It's a real interesting combination so I took it as a challenge and started with teal and gold. By the end, no matter how much I tried to add lavender and mint, it just didn't sing so regretfully I didn't overcome the challenge. That said, I am mighty pleased with what finally emerged.


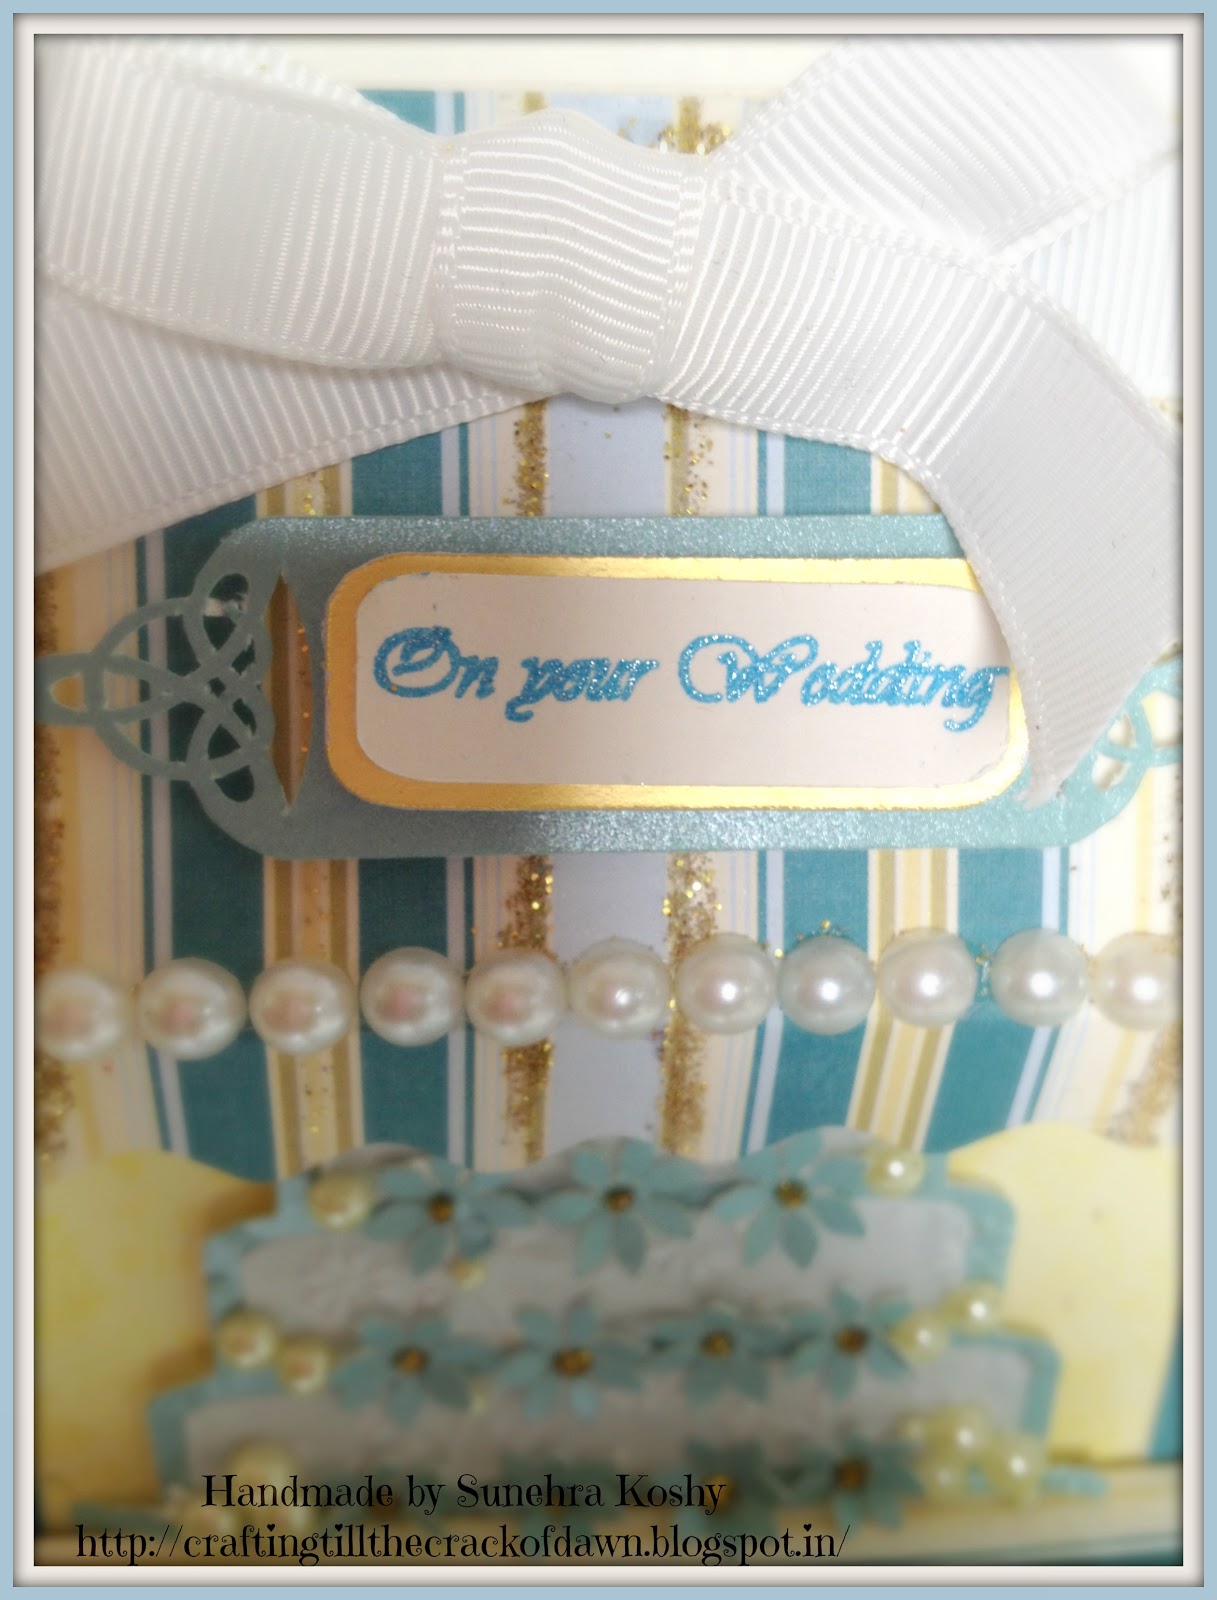
The flowers are a combination of roses created from the ItsyBitsy Swirly Rose Die and some readymade paper flowers again from ItsyBitsy. The cake was tougher - this is the 3rd cake I made for this card. The first 2 just didn't fit. Also a word about the sentiment, it's been written by my super awesome cameo. I replaced the blade with a pen holder and used a blue gel pen to write the text. Isn't that FANTABULOUS!!!!

Linking to:
PlayDate Cafe - 162
Tuesday Alchemy 46 - Anything Goes
Charizma Cards 51 - Anything Goes
Our Daily Bread Design Blog - 136 - Anything Goes
The Pink Elephant Challenge 180 - Anything Goes
The Squirril & the Fox 34 - Party Time
Craft Us Crazy 33 - 3D Project

Sunday, December 23, 2012

More Christmas Cards

Just sent out all my Christmas cards and figured I could take a moment to share some of the designs I created.

This first one is a box card. The image on the top is a digital stamp that I cut and colored with BIC and Copic Markers. When you untie the ribbon, the card splits to reveal a small box inside, perfect for adding a few gift tags.


This one I made a while ago with some left over scraps of card. I have seen Kavitha creating layouts like this and I was inspired to try it myself. The stamp is from Ujjwal, just love it!


I made this one when I first got my cameo. I was trying different types of lace borders and just went berserk. The sentiment is also cut out. 


I had to include Christmas trees somewhere so this card was dedicated to that. Just added a few pearls to embellish. 

And finally this is my card dedicated to our much loved Christmas Icon. Threw in a nice big gold bow for good measure and added a few gold sparkles to complement.


And with that I'm done with Christmas this year. Next stop - New Years Cards. 

Friday, December 21, 2012

A Goodie Box for Christmas

One of the things I love most about Christmas is baking yummy goodies and presenting them on Christmas Day to neighbors, friends and of course loved ones. This year I decided to make some gift boxes for my goodies and here's what I made.


I thought about adding some ribbon, lace trim, pattern paper and other crafty touches but then I decided to hold back, which is something I find really difficult to do. The box was in fact so elegant by itself, so I forced myself to stop with this and in retrospect I'm so glad I did. What do you think?


I also made a complementary tag for the inside, in which I could write a short message or note to the recipients. I saw once Indira of Arty-Sorts using the die cut negatives to make a box, so I decided to try that. Given that the outside was full of the 3d poinsettia, I made the inside the exact opposite. I was lucky enough to have some forest green napkins, which perfectly complemented the whole look. 


And finally here's what I tucked inside each box. Everything is baked right in my kitchen so the house has a rich aroma of cake, cookies and chocolates. 

Oh and I have to thank my buddy Aliena of What's Cooking Today for sharing this wonderful site called www.picmonkey.com - it allowed me to do the most fabulous editing of my photos. Try it sometime!

Linking to:
Tuesday Alchemy #45 - Anything But a Card
Craft Us Crazy # 33 - Merry Christmas
Top Tip Tuesday
Here Come the Boys #42
The Squirrel and the Fox # 33

Wednesday, December 19, 2012

Glittering Cards for Christmas

A while ago I purchased some gold and silver sheets from ItsyBitsy and ever since they've been sitting in my paper tray waiting to be used. After browsing through scores of Christmas craft blogs the last few days, I finally figured out how I wanted to use them and here's what I came up with. 

I saw a challenge somewhere asking for white and gold plus one. I started thinking about it and this project came to mind. At the end, I was going to add a red poinsettia in the center but decided to stick to white and gold. This is the Christmas card I like the most of all the cards I made. Just sent it off to one of my best friends.

Taking a cue from the gold and white, I made a another card, this time silver and white. Interestingly I threw in another color on this project as I found the black background really offset the '3 wisemen centerpiece'. I like the religious feel to the card. So often we forget what Christmas is really about so I thought I could include a biblical reference for at least one of my cards.

I posted all the cards yesterday, hopefully they will reach in time for Christmas. Will do some more posts on the other cards and tags I made.

Linking to:
Sunshine Creations - SC4 Seasons Greetings
Penny's Paper Crafty Challenge 107
Cameo Creations December Challenge
Our Daily Bread Designs - Snowflakes or Snow
RRR Challenge - Anything Goes with Ribbon
Unstampabelles - Christmas

Later folks!

Thursday, December 13, 2012

My Poinsettia's

Christmas is associated with so many things - Santa Claus, Snowmen, Christmas trees and so on. But for me there is only one thing that totally embodies Christmas -  the Poinsettia. That bright red leafy flower that only blooms at this time of year really makes me feel all Christmassy. So is it any wonder I found myself making a whole bunch of poinsettia cards this year? Check them out!
For this one, I cut out the poinsettial petals and then embossed them to give them more texture. Then I just layered them over each other to create pretty accent embellishments.


My next creation was to make the card look like the flower itself. Made a round card and just added petals out of pattern paper until it looked truly BOUNTIFUL!

And for my third, I decided to reverse it all. Made the card background red and the flowers and the flowers a kind of goldish beige. 

Entering these into the following challenges:


Tata for now...


Wednesday, December 12, 2012

Christmas Card & Envelope Set

This is possibly the first time I made an envelope and then made a card to match it. I have this amazing Spellbinders Kaleidoscope die that I got from ItsyBitsy and I wanted to use it in its entirety on one of my projects. I made a set in Navy Blue, Silver and White which I've posted on the ItsyBitsy Blog. And then I made a video tutorial on the same creation in a different color scheme - this time I went for Christmas Colors.  Here are the pictures of what I made.


Here's the card with the other side of the envelope. I've made a video tutorial on how I created that gorgeous flap. You can see it on the  ItsyBitsy Tutorial page.


Entering this set into the following challenges:

Crafters Corner -  Make a Set
Mojo Monday # 271
Tuesday Alchemy #44

Friday, December 7, 2012

A Carousel box and card

I finally got down to making my own craft blog. I've been thinking about it for AGES but I could never find the time. So this little space is dedicated to sharing my own creations and interacting with all you, my crafting buddies!
Here's my first post for this blog - a carousel box and card. For most of us, the idea of a carousel or merry-go-round brings back fond memories from our childhood so I really had a wonderful time creating these two pieces. The round box is a gift box, about 5 inches in diameter, intended to present small meaningful gifts and the matching card is a 6" by 6" square. If you look closely, you will see a little flag popping out of the top of the card. 


I've kept the card simple since the box was so elaborate. The only flair I added was the little white shadow for the horses.The supplies used on this creation are just stripy white card stock and crimson red card stock both from ItsyBitsy. 

Ultimately what I was going for was a Christmas Carnival feel. What do you think? Did I hit the spot?